首頁(yè)| 新聞| 娛樂(lè)| 游戲| 科普| 文學(xué)| 編程| 系統(tǒng)| 數(shù)據(jù)庫(kù)| 建站| 學(xué)院| 產(chǎn)品| 網(wǎng)管| 維修| 辦公| 熱點(diǎn)
鄭重聲明:本文版權(quán)歸原作者所有,轉(zhuǎn)載文章僅為傳播更多信息之目的,如作者信息標(biāo)記有誤,請(qǐng)第一時(shí)間聯(lián)系我們修改或刪除,多謝。
MBR怎么轉(zhuǎn)換為GPT?硬盤(pán)MBR格式
威剛發(fā)布新一代Ultimate SU900
MBR怎么轉(zhuǎn)換為GPT?硬盤(pán)MBR格式轉(zhuǎn)換成GPT格
校園甜美的背影,洋溢著青春爛漫的回憶
芭蕾舞蹈表演,真實(shí)美到極致
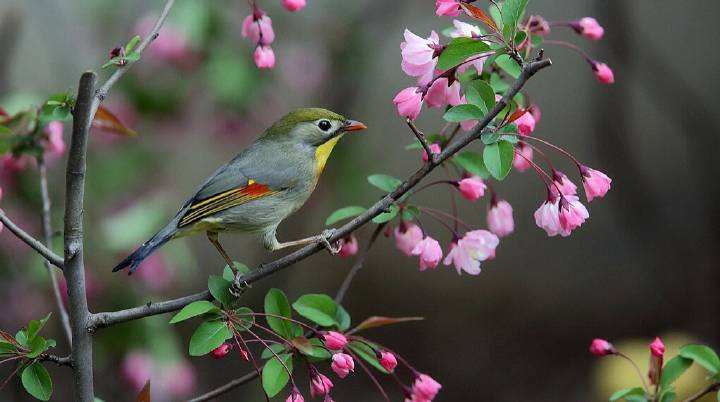
春天的魅力:綠楊煙外曉寒輕
春節(jié)臨近,各地春節(jié)彩燈高高掛
肉食主義者的最愛(ài)美食烤肉圖片
夏日甜心草莓美食圖片
人逢知己千杯少,喝酒搞笑圖集
搞笑試卷,學(xué)生惡搞答題
新聞熱點(diǎn)
疑難解答
圖片精選
網(wǎng)友關(guān)注