一、設(shè)置X-Forwarded-For段
nginx配置示例:
復(fù)制代碼 代碼如下:
server
{
location
{
...
proxy_set_header X-Forwarded-For $proxy_add_x_forwarded_for;
...
}
}
二、在iis站點(diǎn)上安裝isapi filter
在f5的開發(fā)論壇上找到的,按開發(fā)者的話說,是為了解決iis放在f5后記錄不到用戶ip的問題,管他前端是f5還是nginx還是squid還是haproxy,都可以用。
裝完之后重啟下iis即可。
https://devcentral.f5.com/weblogs/Joe/archive/2009/08/19/x_forwarded_for_log_filter_for_windows_servers.aspx
安裝方法,從官方文檔復(fù)制了過來(lái)的,大家看看咯。
Installation
Follow these steps to install the filter.
Download and unzip the F5XForwardedFor.zip distribution.
Copy the F5XForwardedFor.dll file from the x86/Release or x64/Release directory (depending on your platform) into a target directory on your system. Let's say C:/ISAPIFilters.
Ensure that the containing directory and the F5XForwardedFor.dll file have read permissions by the IIS process. It's easiest to just give full read access to everyone.
Open the IIS Admin utility and navigate to the web server you would like to apply it to.
For IIS6, Right click on your web server and select Properties. Then select the "ISAPI Filters" tab. From there click the "Add" button and enter "F5XForwardedFor" for the Name and the path to the file "c:/ISAPIFilters/F5XForwardedFor.dll" to the Executable field and click OK enough times to exit the property dialogs. At this point the filter should be working for you. You can go back into the property dialog to determine whether the filter is active or an error occurred.
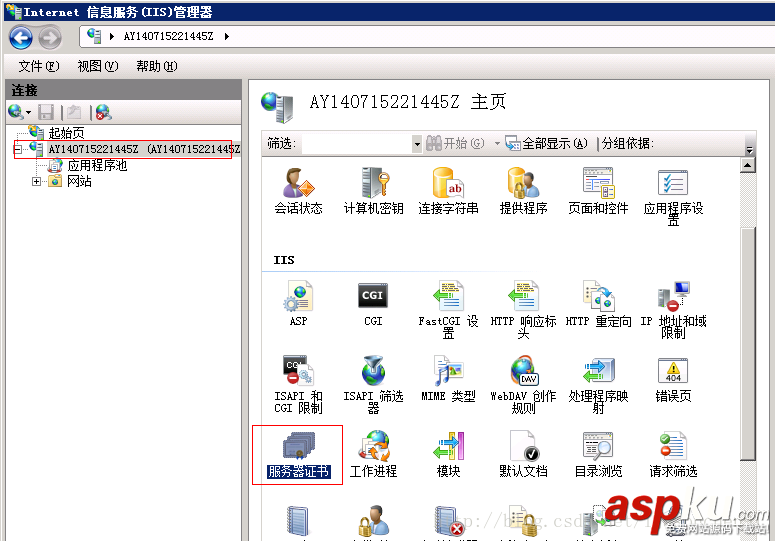
For II7, you'll want to select your website and then double click on the "ISAPI Filters" icon that shows up in the Features View. In the Actions Pane on the right select the "Add" link and enter "F5XForwardedFor" for the name and "C:/ISAPIFilters/F5XForwardedFor.dll" for the Executable. Click OK and you are set to go.
I'd love to hear feedback on this and if there are any other feature request, I'm wide open to suggestions. The source code is included in the download distribution so if you make any changes yourself, let me know!
Good luck and happy filtering!
新聞熱點(diǎn)


疑難解答
圖片精選