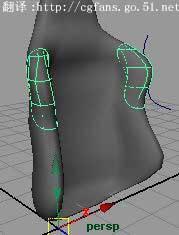
剪切后得到 (pic 30). 當前物體仍然被選擇的時候,按快捷鍵 ctrl+d( 復制 ) 它并將復制后的曲面在 z 軸方向上移動約 1 的單位 .(pic 31)
pic 30

pic 31
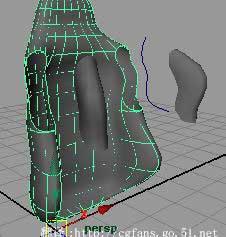
now select back your trimmed object and go to the menu edit nurbs > untrim surfaces (pic 32), select trim again, and this time, select the main object (pic 33).
選擇后方被你剪切過的曲面,使用 edit nurbs > untrim surfaces 命令,得到 (pic 32), 將得到的曲面再次 trim 它,這次,我們要保留的區域改變了 (pic 33)
pic 32

pic 33
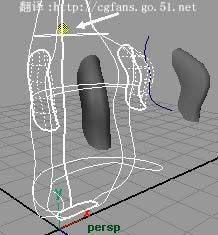
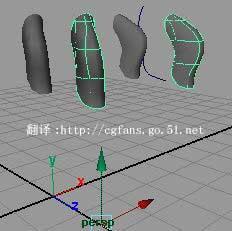
hit enter, then you will have this object (pic 34); next, select the copied object and translate it to 0 z axis, now you have 2 separated objects right ? (pic 35) :)
trim 后,你將得到如 (pic 34). 接下來,選擇復制出來的物體并將其移動回原位 (z 軸方向變為 0) ,現在我們得到兩個分離的物體 (pic 35)
pic 34
pic 35
create top seat bealt hole
from front view, create this 2 profile curves, inner-white and outter green (pic 36)
ok now select outer curves then extrude it to back (-2) (pic 37), remember : to extrude a curve, open your extrude option box and set the style to distance , and make sure output geometry has been set to nurbs .
切找到前視窗 , 創建兩條曲線,里面的為白色,外面的為綠色 (pic 36)---- 不懂為什么要講這個 , 暈 !!!
ok. 選擇外面的曲線并 extrude 它,值為 -2(pic 37). 記住 : 當你 extrude 曲線的時候,將 extrude 選項盒打開,將 style 設為 distance , 并確保你輸出的幾何體為 nurbs .
pic 36

pic 37
新聞熱點


疑難解答